Stitchy is my fabric collection from Benartex that features 5 different geometric prints in 5 different colorways ranging from light to dark. I usually like to keep my fabric lines to about 20-25 prints so they don’t break the bank and that’s been working really great so far.
I went with a “sewing & sharing” theme on this collection with fun names like Hashtags, Stitches, Sunny Day, Crossweave, and Threaded Lines. While supplies last, you can grab half yard bundles of any of the five colorways shown below: pink, orange, lime, turquoise and grey.
Stitchy fabrics are also available individually by the yard, or you can grab a fat quarter bundle of the entire group. Which colorway is *your* favorite??
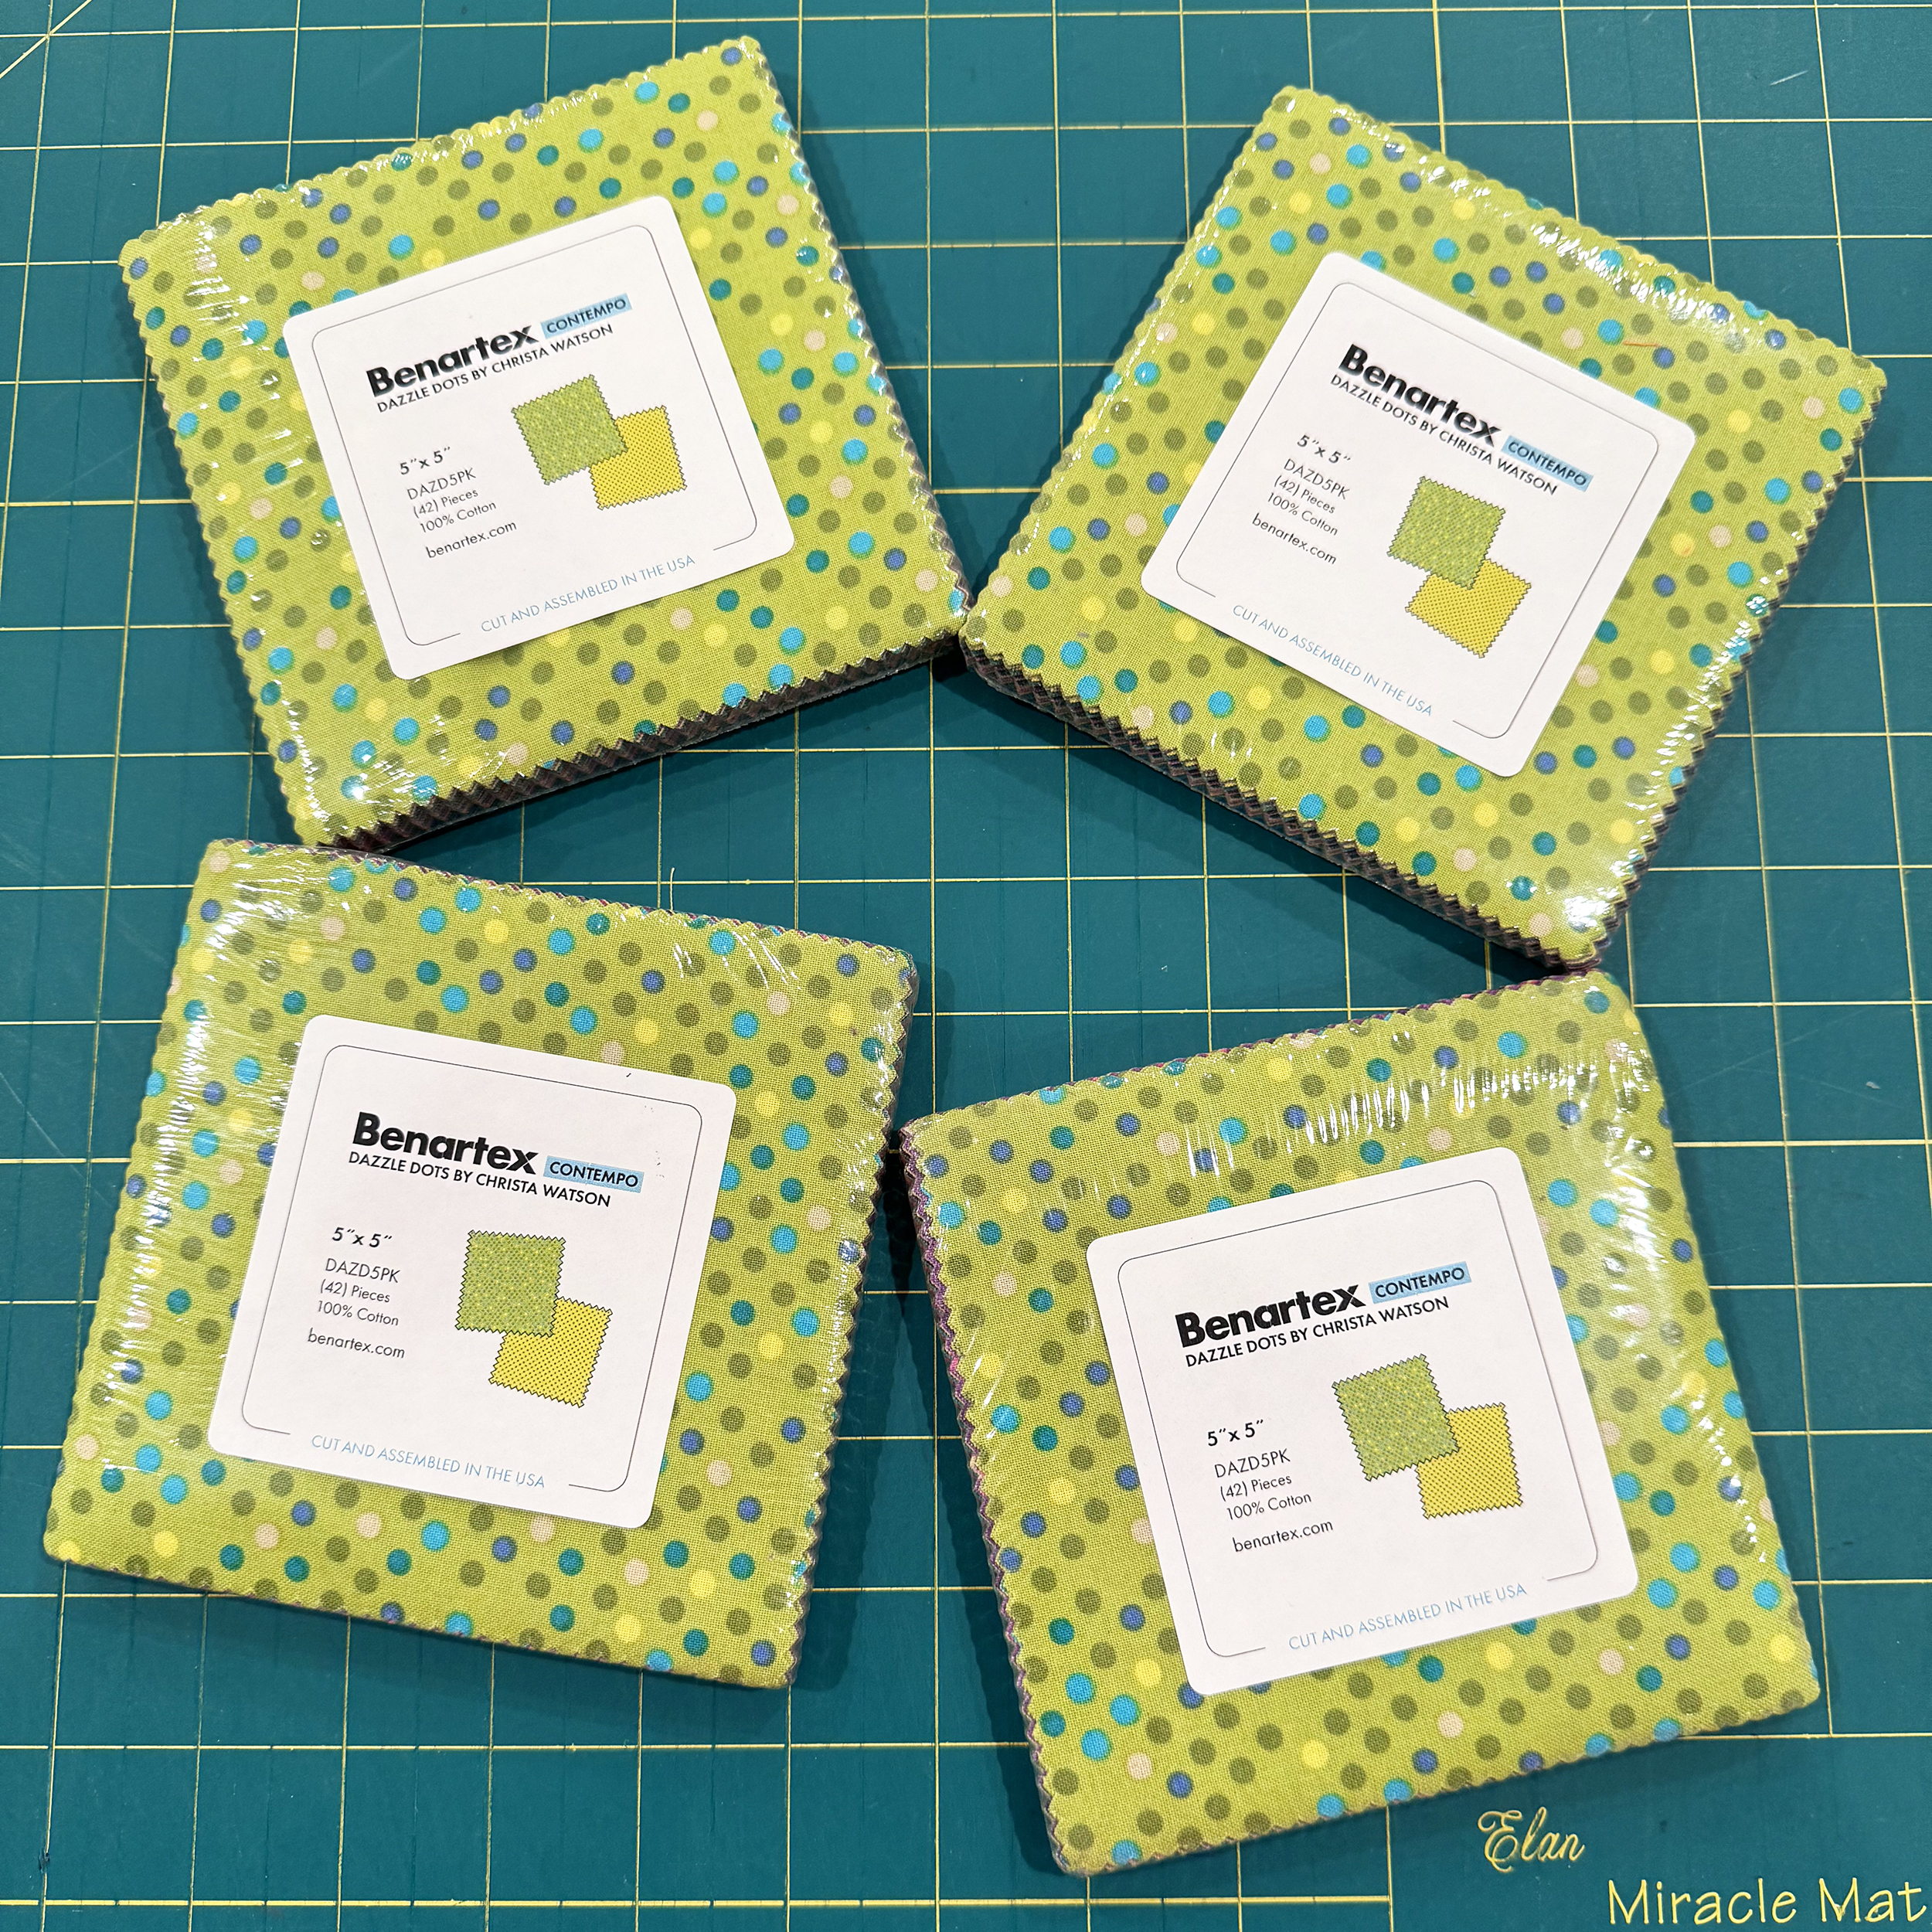
Have you added some of this bright colorful fabric to your stash yet? Dazzle Dots is my 9th collection so far with Benartex and it’s been the most popular one yet, which is super exciting! I guess folks love the rainbow colors and simple polka dot prints. Fawning over my fabric is like telling me my kids are cute – so I just eat it up!!
Dazzle Dots Yardage, Bundles and Kits
The exciting news is that Dazzle Dots is now on it’s 2nd printing and is ready to ship! Many of the colors, such as the neutrals and the navy blues sold out so fast it was hard to get ahold of them after the first print run sold out. I always order several of my bolts of fabric from the manufacturer but it was fun to see the demand for these.
So in case you missed them the first time around (or need more – that’s totall ok!) you can once again get any of the 22 prints by the yard. Or stock up on your favorite bundles such as fat quarters of the full line, or 1/2 yard bundles by colorway.
And in case you missed it, I’ve created 7 different videos showing the 8 quilts I’ve made (so far) from Dazzle Dots. I made a play list of all of them on my YouTube channel. Click the icon or image to get started watching. (Depending on your browser you might NOT see a preview image, but it will play once you click on it.)
They videos will play continuously one right after the other, in order.
Sharing is Caring!
If you’ve made projects from Dazzle Dots, I’d love to see them. You can tag me on social media using #dazzledotsfabric and you can also share what you are doing (and get feedback if you’d like) on my ChristaQuilts Facebook Group.
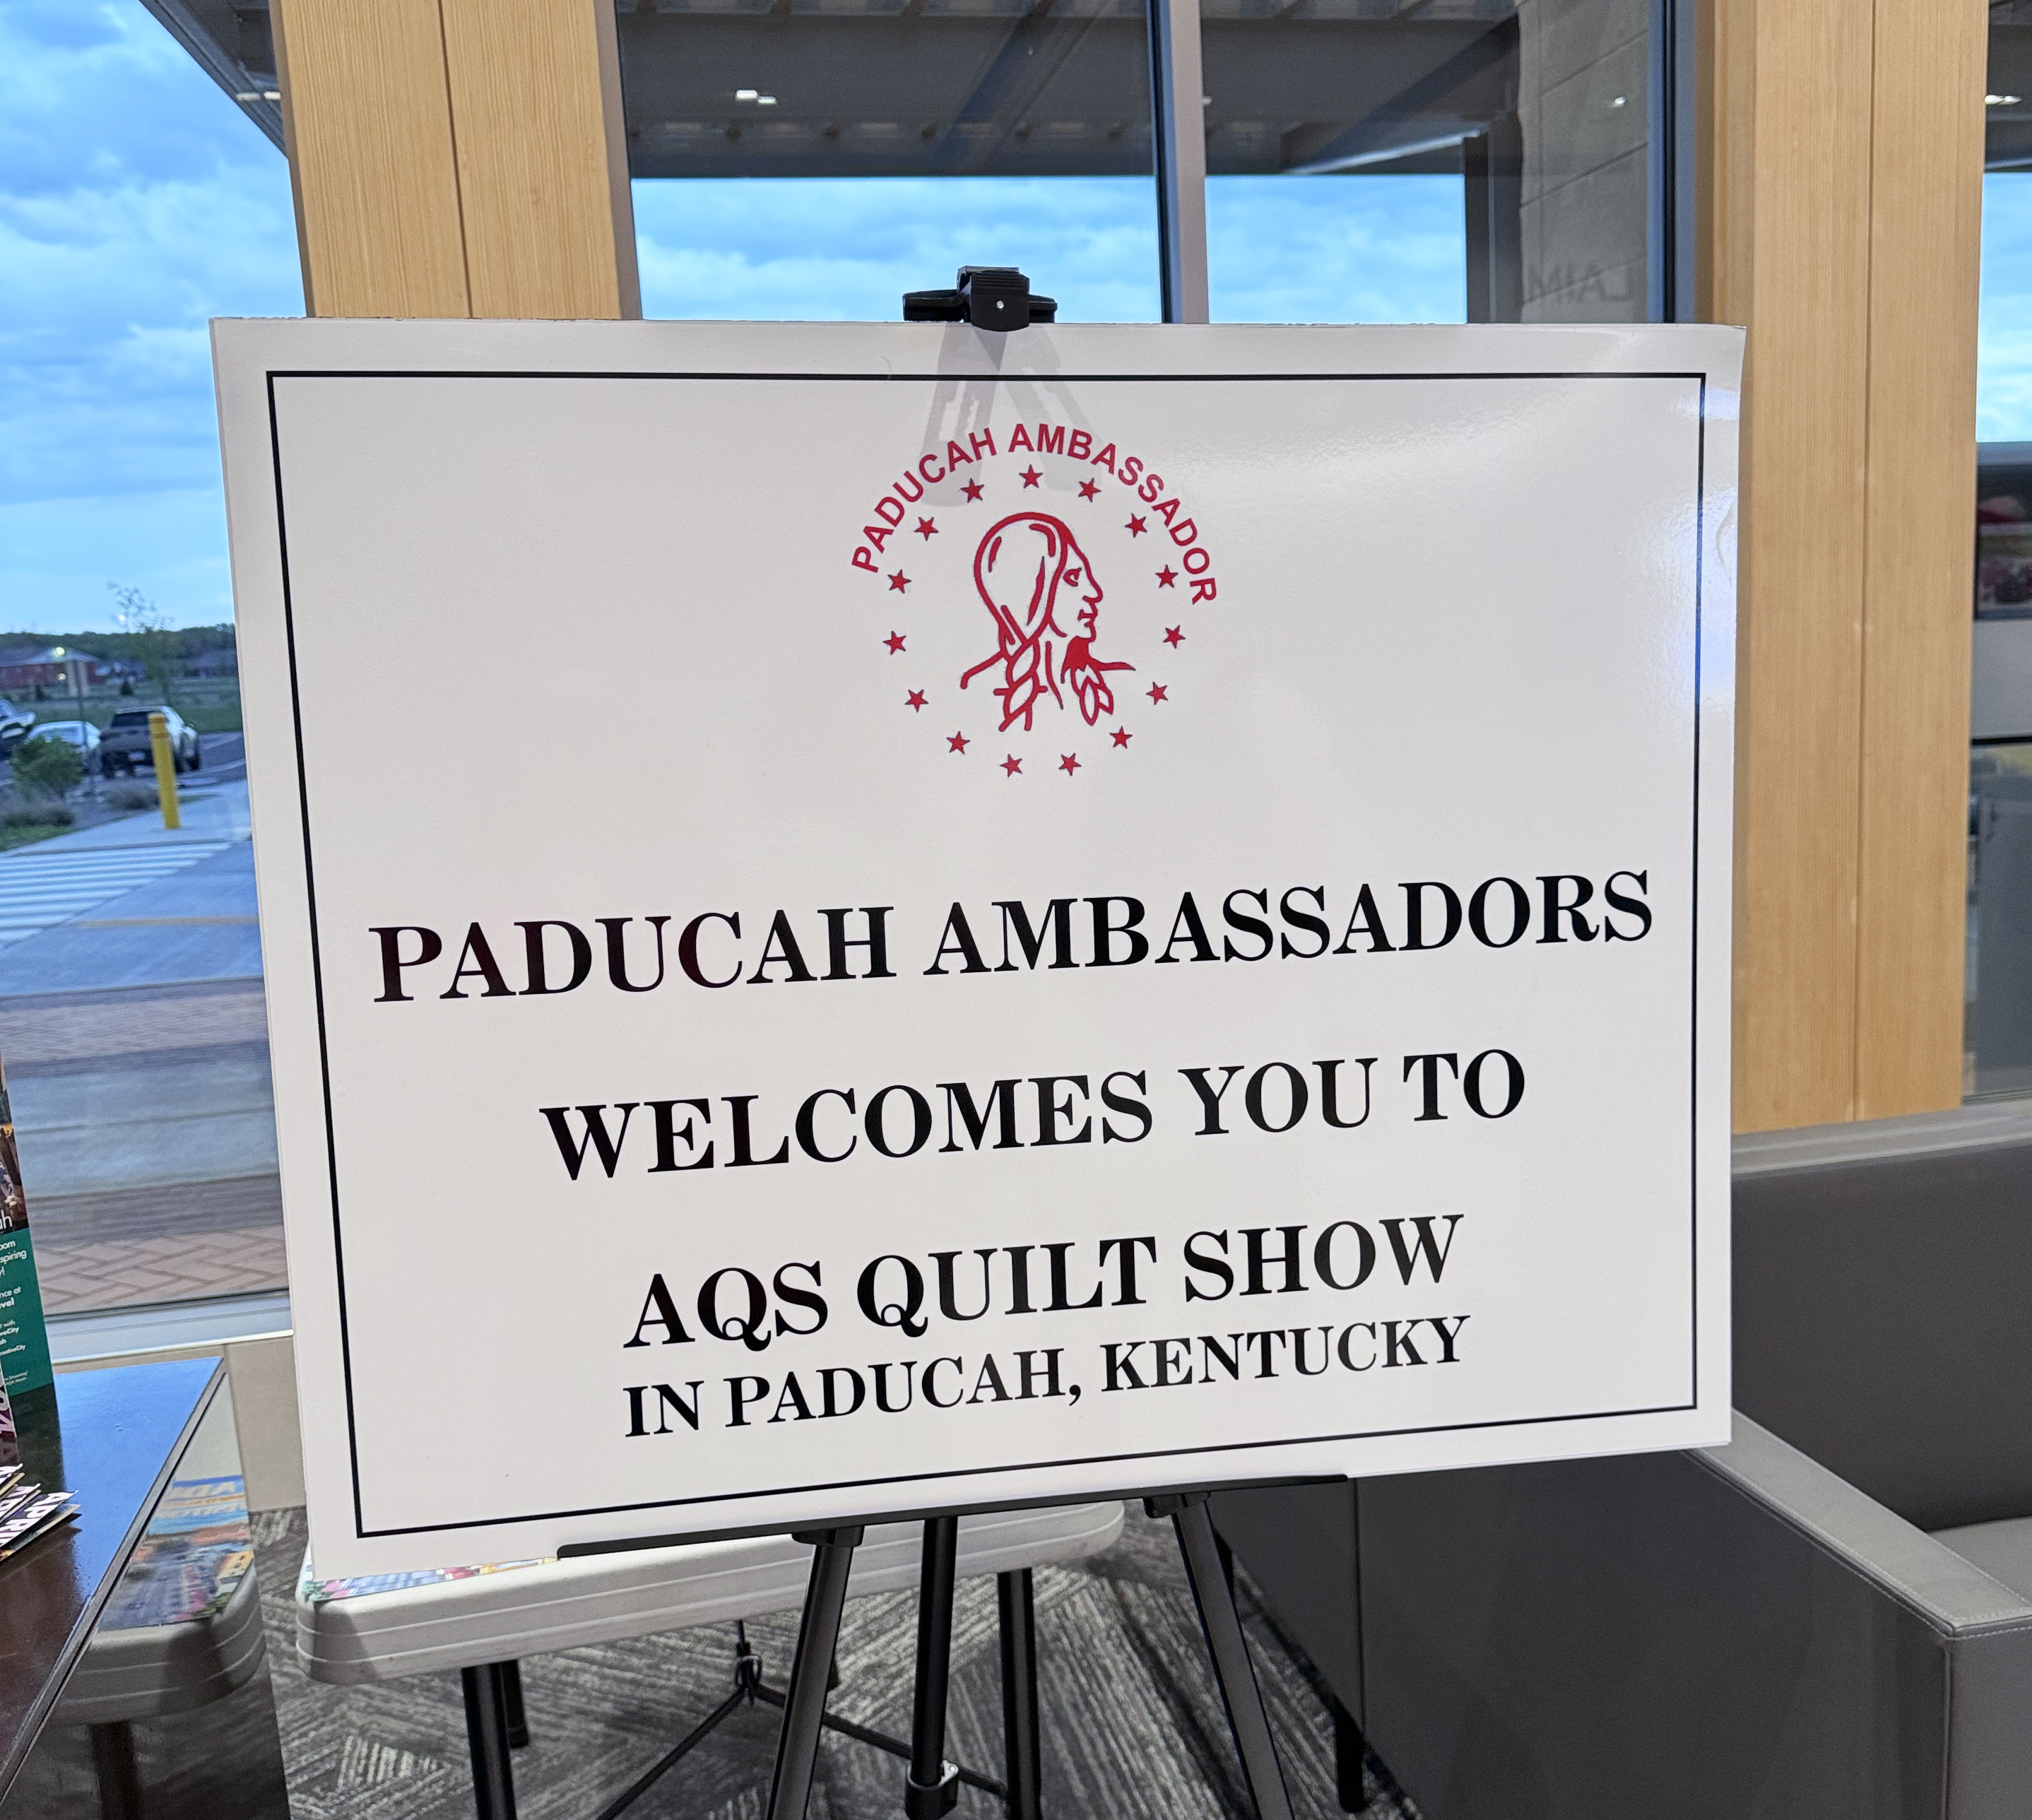
If you haven’t had a chance to travel to Paducah, KY for the AQS quilt show, I thought it would be fun to share a few highlights from my week of teaching there. It was my first trip to this amazing show and it certainly won’t be my last!
From Las Vegas, I flew to Charlotte, NC and then took a smaller commuter plane to the Paducah regional airport. Once there, we were greeted by the Paducah ambassadors and then taken over to the host hotel to settle in. The next day kicked off a 4 day frenzy of lectures, workshops, food, friends and fun!
Here’s a short little clip of excited students eagerly awaiting my first lecture. There’s nothing like a room full of quilters to get me all amped up!! Click the image below to play.
I taught a total of 5 machine quilting workshops, demonstrating a variety of walking foot and free motion techniques. At a large show like this, the students don’t even have to bring in machines because each room was sponsored by a different sewing machine manufacturer which is really nice.
Pro tip- the best place to test drive a new machine is in a workshop at a major quilt show – and that’s usually the best way to get a great deal on a new machine!
Above is a few images of the practice samples that students created in class. In between trying out the different motifs from my books, I sprinkled in plenty of ideas showing how students could apply these designs to actual, full sized quilts.
During the break in between classes, I was able to squeeze in a few minutes each day to see the quilts at the show and they did not disappoint! Of course, I’m partial to the modern quilts, so I put together a little montage below, showing just a few of my faves. I took a photo of each artist credit as well. Click the image below to play.
On the last day of teaching which was Saturday, I finally had time to head over to the National Quilt Museum which was in walking distance of my hotel. The whole downtown area is adorable and there’s even a scenic river walk which adds to the charm!
I ran across a time capsule on the front lawn of the museum which was placed back in 1993. That’s just 2 years before I made my first quilt in 1995 at the ripe young age of 22!! The time capsule will be unearthed in April of 2043, 50 years later. I realized I will be 70 years old at that time, so I decided right then and there, if I’m (hopefully) still around, I’ll make plans to be there for the opening. How fun will that be???
The museum hosts a collection of over 600 quilts they’ve acquired over the years, and they just have a partial display of quilts on display at any one time. While I was there, they had several curated exhibitions, including a fun display of 1920’s themed Art Deco quilts, along with several quilts shown from teachers and other notable attendees who were there at the show. How fun would it be to walk into the museum and see your quilt hanging there. (I may need to add this honor to my bucket list of goals….)
Here’s a short 2 minute video showing a quick overview of 2 of the exhibit rooms along with some of my personal faves. Click play below to watch:
Seeing all of the beautiful quilts at the show, and also at the museum has caused me to reflect deeply upon my current work. While I love all of the quilts I make for patterns, books and to promote my fabrics, I’ve realized it’s been awhile since I’ve made a quilt specifically to enter into a quilt show. So I plan to set aside more time to do that in the future. Of course I’ll continue to share my journey and I hope you’ll continue along for the ride!
I’m just got back from teaching in Paducah, Kentucky and had an amazing time. One thing that the pandemic made me realize is how much I love teaching live and in person. When I wasn’t able to do that, it truly felt like something was missing. If you missed seeing me last week, your next opportunity to do so will be at Pacific International Quilt Festival in Santa Clara, California, July 24-27, 2024.
I’m excited to be teaching a full slate of workshops, including two of my signature full-day classes: Walking Foot Bootcamp & Free Motion Bootcamp. Taken together, these two will basically teach you everything you need to know to have a successful experience quilting on a domestic machine.
Whether you are a newbie to machine quilting or have been around the block a few times, it’s fun to share my best tips and tricks while guiding you through a series of exercises based on my latest 2 books: 99 Machine Quilting Designs & How Do I Quilt It?
Along with the bootcamp workshops, I’m offering a super fun class called Machine Quilting Fun with Spirals and Swirls. This is another all-day class that will go in depth with tons of cool ideas you can do with a walking foot OR free-motion. I enjoy teaching both techniques in the same class and especially love that “a-ha!” moment that students experience when everything clicks!
Domestic Machine Quilting is My Favorite Thing to Teach
Finally I will be teaching a 1/2 day class called Free-Motion Mashup. This is where you get to take a whole bunch of your favorite motifs and learn how to mix them up in a fun way. I often refer to this technique as “free-motion improv” or “improvisational machine quilting” because that’s exactly what it is. The cool thing about this technique is that it’s a completely unique design, each time you stitch it!
Just one of the infinite possibilities you can create with Free-Motion Mashup
PIQF Registration Info
I sure hope you can make it to this amazing show. Click here for my PIQF class listings. Or you can register for any of them by clicking on each individual workshop below:
I really enjoying teaching at lots of different venues, so if you are unable to travel to me, I’m always happy to come to you! Feel free to pass along my name to the program coordinator of your local quilting group or guild. I pretty much say yes to wherever I’m invited to go. I’m always up for the next quilty adventure!
While I’m away teaching at the AQS show Paducah, KY this week, I thought it would be fun to reminisce about one of my early “modern” quilts I made several years ago. It’s called Facets, and it’s extra special because it got a 2nd place ribbon at the show back in 2016.
This was shortly after they first introduced the modern category to the show, AND this was the first quilt I designed and made for the first book I ever wrote called Machine Quilting with Style. (The Facets pattern begins on page 90).
Although this book is now out of print, I still have a few dozen physical copies left, and there’s a PDF download version available, too!
Just for funsies, below is the whole group of 12 quilts that’s included in the book. They all have a bit of modern flair, and each one includes a complete step-by-step machine quilting plan.
It’s fun to remember that I actually shared many of the quilts in the books at different shows and even picked up a couple ribbons at other shows too. Of course, that’s not why I quilt, but it is a feather in my cap when I can snag the occasional ribbon at a show.
Making Facets, along with the other quilts was such a labor of love! Although I had been teaching locally for many years before I wrote that first book, it kicked off my national teaching career, and for that I am truly grateful!
Domestic machine quilting is all about “scrunching” and “smooshing” a quilt under the machine!
One of my favorite things about being a designer is getting to be a spokesperson or ambassador for many different companies in the quilting industry. I love telling folks about things that I use in my sewing room every day. Probably one of the most important supplies I use in *all* of my quilts is my collection of Aurifil threads.
I curated my favorite grouping of colors, neutrals, and variegated threads I use for both piecing AND quilting. They are all size 50 weight, 100% premium long staple cotton and they are an absolute dream to work with. The first 2 boxes – Colors and Neutrals were first introduced back in 2016 and due to the overwhelming popularity, I was able to curate the Variegated group a couple years later in 2018
Because these collections have sold so well for so many years (and my picture on the original boxes was getting a little out of date) we decided to refresh the labels so that they all had a consistent look.
I’m actually a minimalist when it comes to tools and supplies around the studio so I love that these threads are all constructed exactly the same. They are long staple cotton fibers with over 1400 yards of thread on each spool. In fact, I can usually quilt an entire throw sized quilt with just one spool – and that includes the top *and* bobbin threads!
When I first began quilting I got so confused with all the different types of threads that were out there, not to mention all the different sizes. I was so happy when I could find just ONE thread that could do everything I love to do. The bonus thing about working with cotton threads is that they make your quilts soft and supple since they are a natural fiber. And any leftover bobbins that I use for machine quilting can be used up when piecing my next quilt!
I’be been working with these threads exclusively since they came out and have been very pleased with the results. If you haven’t tried them yet, you are in for a treat!
Later this month I’m stoked to be heading out to teach at AQS quilt week in Paducah Kentucky. As of this writing, 2 of my workshops have sold out, but there are still a few spots left in my 3 workshops below along with my lecture. If you haven’t yet registered, it’s not too late.
This has been a bucket list event for me, ever since I won a ribbon at the show for my quilt Facets way back in 2016!
This was the first quilt I designed and made for my first book called Machine Quilting with Style. Making this quilt, writing the book and submitting it to the show were all game changers for my quilting career!
So if you plan to attend, please let me know. I would love to see you there. And since this is my first time, if you’ve been before, let me know what I should definitely *not* miss while I’m there!
My latest YouTube video is a 2-fer! In this week’s video I’m sharing 2 fun techniques: foundation paper piecing and free motion quilting. I’ve made 2 different versions of my Party Time quilt in 2 different colorways of Dazzle Dots fabrics. I think you’ll love them both. Click the image below to watch!
This is one of those quilt patterns that has evolved and improved over the years. It now includes 4 different sizes and like all of my current patterns is available in print or PDF format. Click below to grab one or the other (or both!)
I made my Swanky Spirals quilt a few months ago to promote the launch of my Dazzle Dots fabric, and I took lots of videos and pics as I made it, so I could share them with you! Take a look at my newest machine quilting tutorial by clicking the video below:
I created what I call a “free-motion mashup,” quilting lots and lots of different free motion motifs all over the quilt. After all, why quilt just one design, when you can do them all, right?? I’ve highlighted just a couple of them below:
This type of quilt is perfect for practicing your free motion skills because there’s lots of room to play! Your designs will show up more in the darker, tonal colored fabrics, and they’ll blend in more with the busier prints.
Now I did go a little crazy with the backing, too. I was actually on a deadline to finish this quilt, but using up some leftovers really spoke to me while making this quilt. I combined some of the block trimmings with several other leftover strips and chunks of fabric. The cool thing about making a pieced back is that it’s a totally unique creation each time!
While supplies last, I’ve put together a limited edition kit to make Swanky Spirals. It includes fat quarters + all of the fabric for the background, borders AND binding.
If you’d like to choose your own background, you can grab a starter kit of just the fat quarters. The coolest thing is that even if you use the same fabrics as me, your quilt will still look completely different than mine. That’s the fun of improv quilting!
So I hope you get a chance to watch the video and perhaps even make the quilt. But now I have a favor to ask. Can you leave a comment letting me know you saw this post/and or video? I’m sharing it in all the places and I’m trying to get a better sense of where folks are seeing it. Many thanks and happy quilting!
I’m excited to revisit a quilt that I designed and made many years ago called Positive Direction. I plan to share updates about this quilt in real time, so there’s no telling how many posts it will take until I finish! But I’ll share my progress and answer any questions you have, each step of the way! My original version is shown below, made from fun fabrics that I chose before I became a fabric designer:
The Positive Direction quilt pattern is still available as a pdf download and it includes instructions in multiple sizes. The version shown above is Lap Size. Over the years I’ve always had it in the back of my mind that I would remake this quilt once I had designed enough red, white and blue fabrics. I started by recoloring the larger version using a more limited color palette and I think it looks pretty cool:
However, the more I thought about remaking this quilt, the more I decided that I wanted to go with the overall scrappy look like I did before. After all, my philosophy is why choose one red fabric when 20 will do??
I had a blast combing through my fabrics to find as many different prints that would work. After designing 9 collections (and counting) for Benartex, it was fun to see how many different fabrics I could pull from my personal stash.
And just so you know how my mind works, I got super excited about this fabric pull right in the middle of quilting my turquoise Ticker Tape quilt, so I had to stop what I was doing *right then* and set these fabrics aside until I was finished with the quilt under my machine. I’m sure I’m not the only one that does that, right??
Scrappiness = Happiness
I shared a few pics on social media as I began cutting and sooo many people wanted to know why I didn’t use strip piecing for this quilt. The answer is simple: I get much better results if I cut all of my units to the correct size *first* and then sew. Your mileage may vary, but I find that if I sew first, press, and *then* cut, my pieces tend to get a little wonky. Besides, it’s hard to do a lot of strip piecing when working with scrappy units.
Making the Quilt Blocks
I love to work in batches and assembly line sew. So I’ll lay out all of the blocks for one colorway right next to the machine and chain piece them all together to save thread. Then I’ll press and move onto the next set of blocks. It’s more efficient and makes me feel like I’m getting a lot done!
Ta-da!! Here are all of my finished blocks, waiting to go up on the design wall. In real time, it took me about 2 weeks to prep and cut all the fabrics, then sew and press all the blocks. It’s kind of nice that I’m not on any deadline for making this quilt so I can really enjoy the process. I’m making the Throw Size which will finish 66″ x 78″ so that’s a nice beefy size that will be perfect for cuddling on the couch!
Although this is not an “official” quilt along, I’ll continue to share my process as I make this quilt. If you’d like to make a version of this quilt for yourself, click here to grab a copy of the PDF quilt pattern.
Because many of the fabrics I used are now out of print, you’ll be able to create your own unique look by gathering lots of different fabric prints in similar colors. However, I did stock up on the neutral backgrounds because those *always* come in handy! Click the links below to grab some of my faves, while they last: